
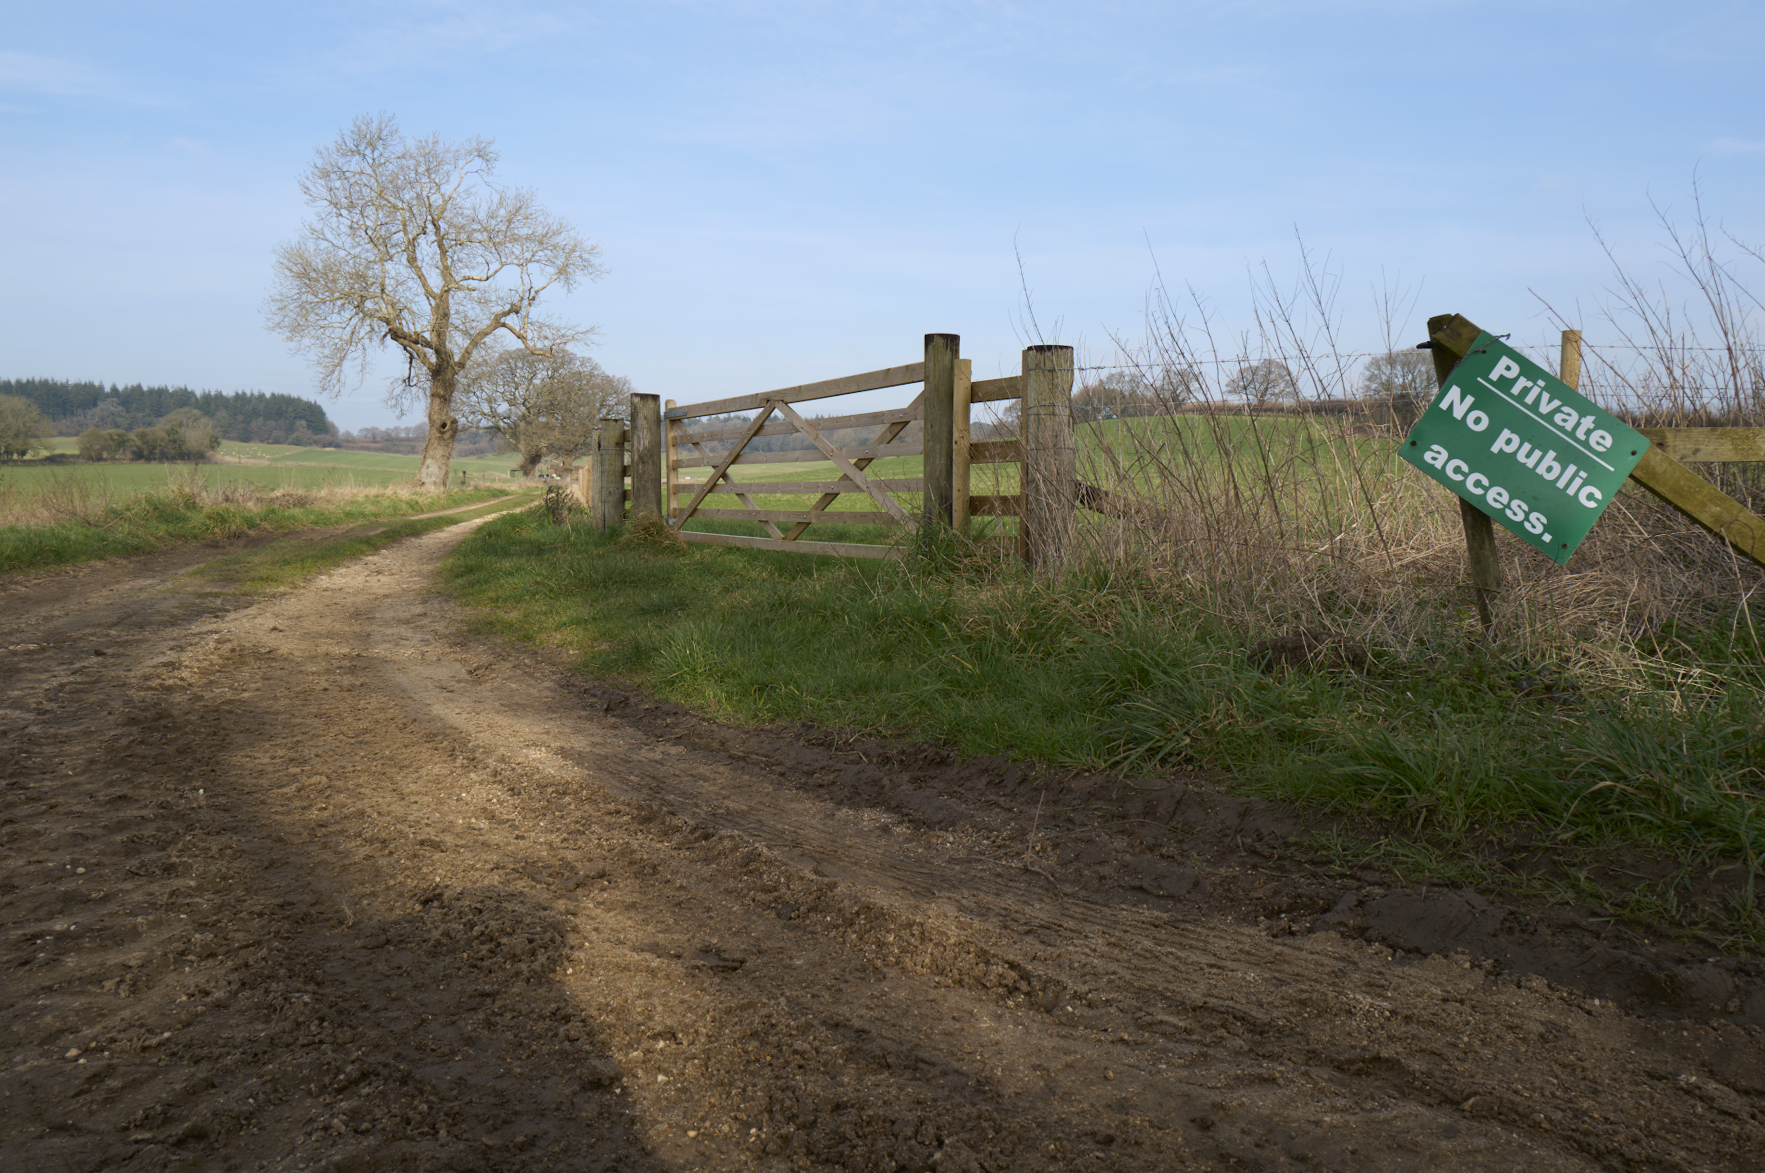
Photographic workflow – Part 3 ….. Processing in the digital darkroom ….. the before and after

In part two of this short series I wrote about my approach to image capture with a particular reference to my recent purchase of a Leica Q3. Buying a new camera is always an exciting time. I couldn’t wait to begin editing the first shots I had taken and to see for myself just how good the files are from a 60mp sensor when seen through a 28mm f1.7 Summilux fixed prime lens.
Full of eager anticipation I plugged the SD card into my laptop, downloaded the files into Capture One but was very disappointed with the results. Why you ask? Well I have to admit to a schoolboy error. Before buying the Q3 I didn’t check whether or not my version of Capture One would support the Q3 DNG RAW files. It didn’t; the RAW converter wasn’t compatible and I had no choice but to purchase and install the latest version of Capture One. Problem solved but I hadn’t allowed for this additional cost. Lesson learned I could now move on and start editing the files and I was blown away by the quality and detail. Everything I had read in various reviews was there on the screen in front of me.
Processing an image and its conversion to black and white invariably requires me to use Silver Efex which is part of the Nik Collection by DXO. Again I was using an old version so having updated Capture One I thought it was time to download the latest Nik Software. They offer a free 30 day trial so I could check out the benefits before making a final decision to purchase. Whilst the interface hasn’t changed significantly there were clearly a number of improvements which would help my image editing. I thought the updated software would also cope more easily with the large TIFF files I would be creating. Another unexpected purchase but one which was probably overdue anyway.
So how do I go about editing my images? Generally speaking I like to keep things simple. I don’t spend a long time processing an image. If I can’t achieve the results I am seeking in a few minutes then it’s almost certainly because the original image wasn’t right in the first place.
My approach will also differ depending upon the image itself. I rarely use presets in any software, even though there are significant number to choose from in Silver Efex. They can be a good starting point but I prefer to edit without resorting to a fixed recipe. There are though a number of steps which I will usually adopt irrespective of the image.
I start by importing the image into Capture One. The Leica RAW file has an automatic curve applied and in many cases I will change the default to ‘Linear Response’. This has the effect of flattening the contrast in the image. I take the view that its easier to add contrast when converting to black and white although I admit that the advantages of this step are marginal.

I won’t crop or make any other changes in Capture one at this stage other than to check the histogram to ensure highlights aren’t blown or shadows clipped. If necessary I’ll make the necessary adjustment.
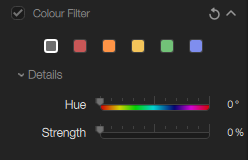
From Capture One I’ll ‘Edit with’ and open the file in Silver Efex which is configured to create a TIFF file. My first edit will be to select a colour filter if required. This is done to mimic the effect of a colour filter on the lens from the black and white film days. How accurate it is I simply don’t know but I will often select a red or orange filter as I like to darken a blue sky for example.

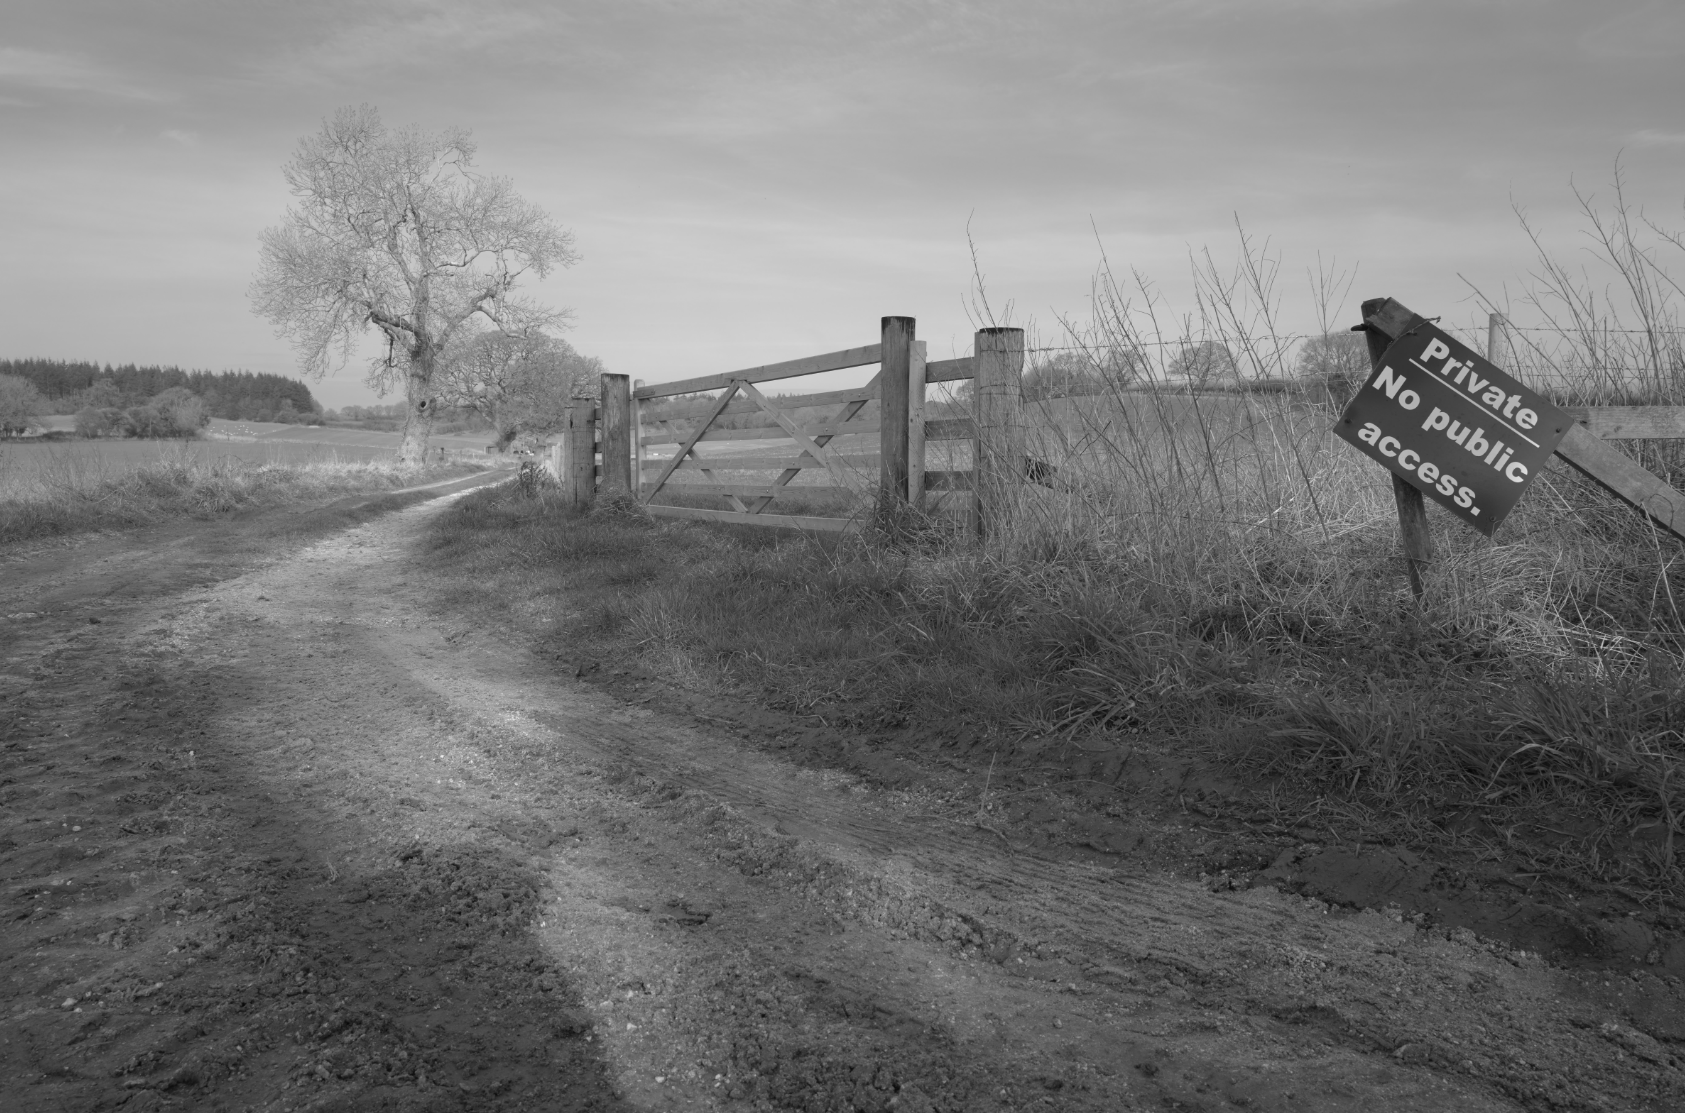
The next stage is where most of the editing is done by making global contrast adjustments. The image starts to come to life and is closer to how I visualized the image would be like at the time I pressed the shutter.


I’ll continue to fine tune my adjustments in several ways. I will use the colour channels to brighten or darken selected colours in the image. I will make local adjustments to dodge and burn parts of the image as I think necessary. I will use the ‘structure’ tool which adds or reduces clarity to the highlights, mid-tones or shadows. Again these can be applied locally. I will then save the TIFF image and return to Capture one. Here I will apply a crop, and check the overall tonality of the image by referring to levels and the histogram. I might also add a vignette at this stage.

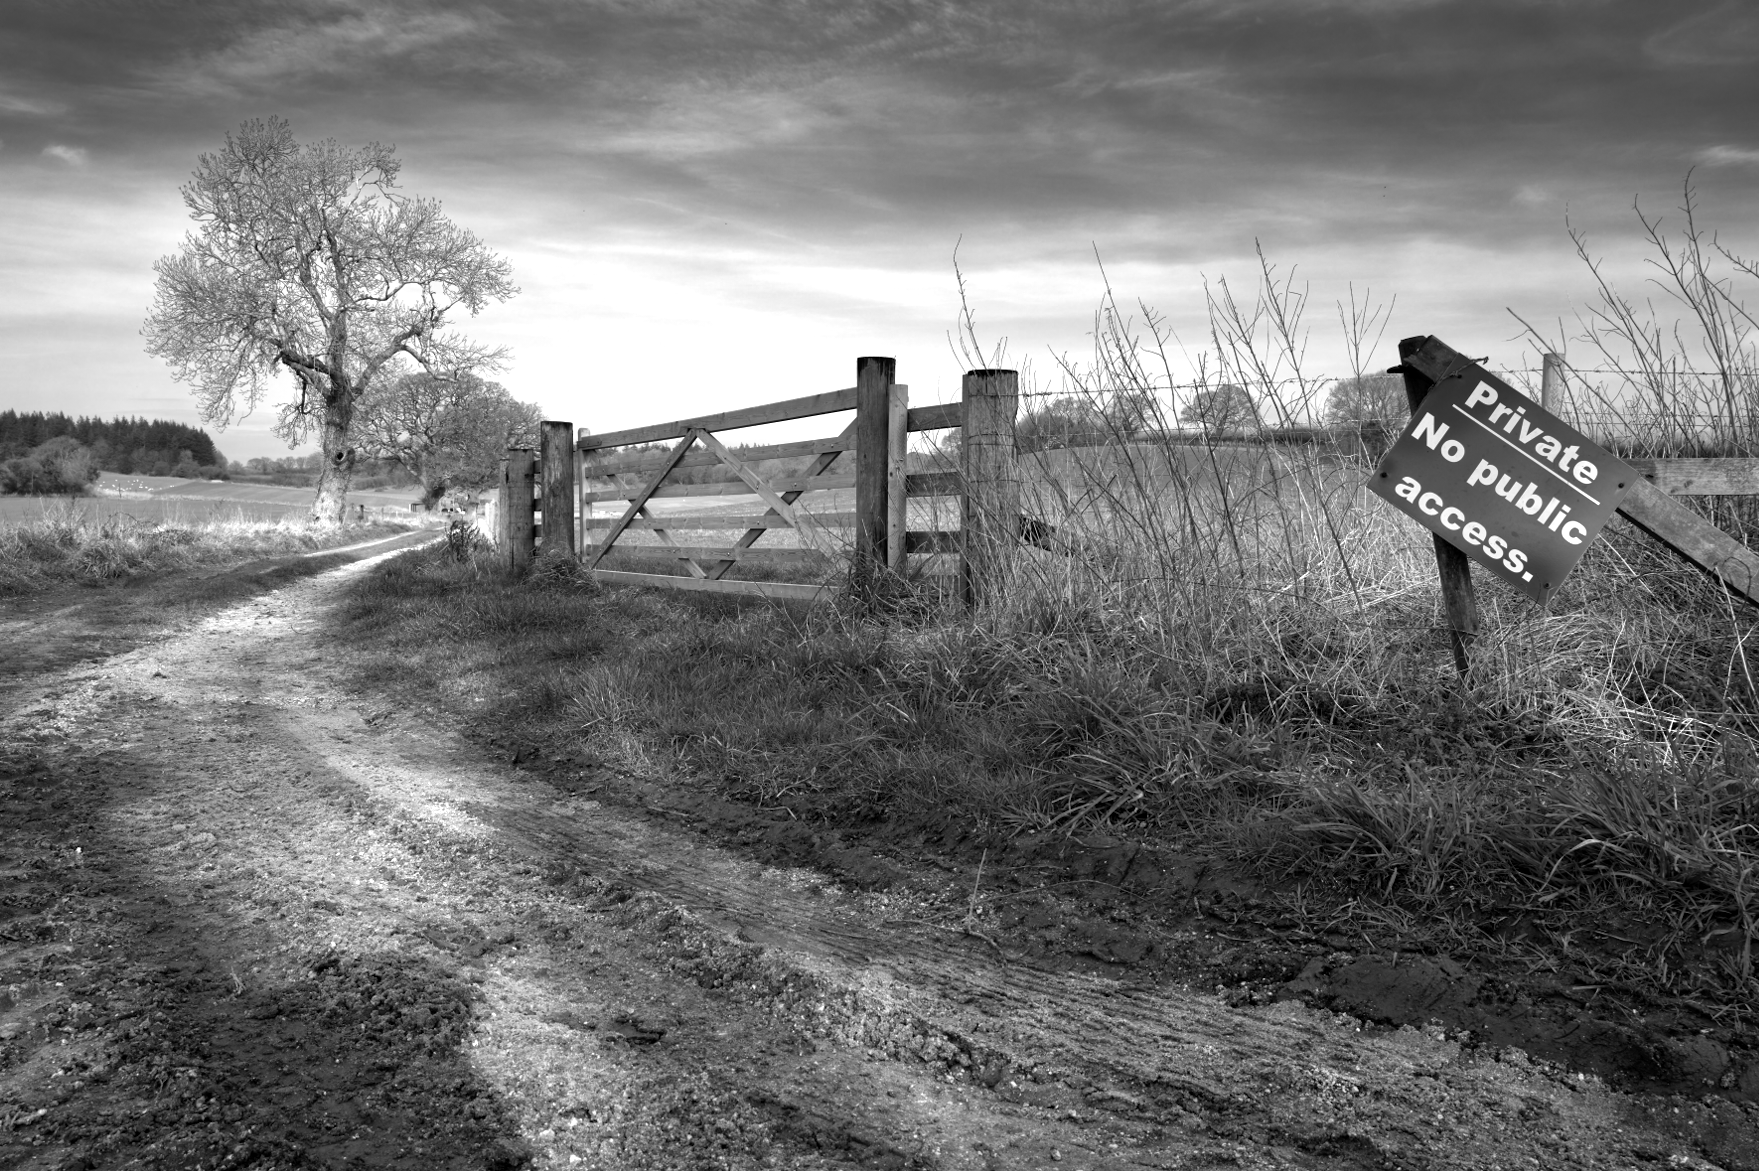
Finally if I want to apply a split tone, add film like grain, or sharpen the image for print then I will make all these changes in Capture One.
I guess it goes without saying but my processing workflow is just that – it’s my way of working and depending upon the software you have, you may approach image editing in a very different way. The end result and how you would like the finished photograph to appear is all down to personal preference. It’s your interpretation of the scene at the time of capture and perhaps what story or feelings you wish the image to convey to the viewer. Could I achieve the same results just in Capture One without resorting to Silver Efex? Possibly yes, but I have become so familiar with the tools in Silver Efex and how they work together to bring about the results I am looking for that I have no reason to change my ways. Why would I want to change and make life more complicated.
I mentioned earlier how impressed I was by the detail and sharpness captured by the Leica Q3 and its 60mp sensor. Here is a crop of the centre of the image at 100%. Just extraordinary.

Lastly I want to mention file sizes and the need to have a computer that can cope with processing large files and a willingness to have plenty of storage. The DNG RAW file straight out of the Leica Q3 camera is 85mb in size. Once saved as a TIFF the file size becomes 339mb. One of the advantages of the latest Silver Efex software is that you have the option to carry out non-destructive edits to the TIFF file. This means that even when the image is saved back into Capture One it can be reopened in Silver Efex and the original adjustments made in Silver Efex are retained and can be re-edited. There is a price to pay for this feature as it affects the file size. It jumps from an already sizeable 339mb to a whopping 724mb! A price in my view worth paying but you should be aware!
I hope you have found this insight into the way I edit an image interesting. You may also wish to read Parts 1 and 2; the links are below.
Photographic workflow – Part 1 …… seeking inspiration
Photographic workflow – Part 2 …… image capture and why I chose to buy a Leica Q3
The fourth and final part will be about printing and presentation.

One Response to “Photographic workflow – Part 3 ….. Processing in the digital darkroom ….. the before and after”
[…] Photographic workflow – Part 3 ….. Processing in the digital darkroom ….. the before and … […]
LikeLike